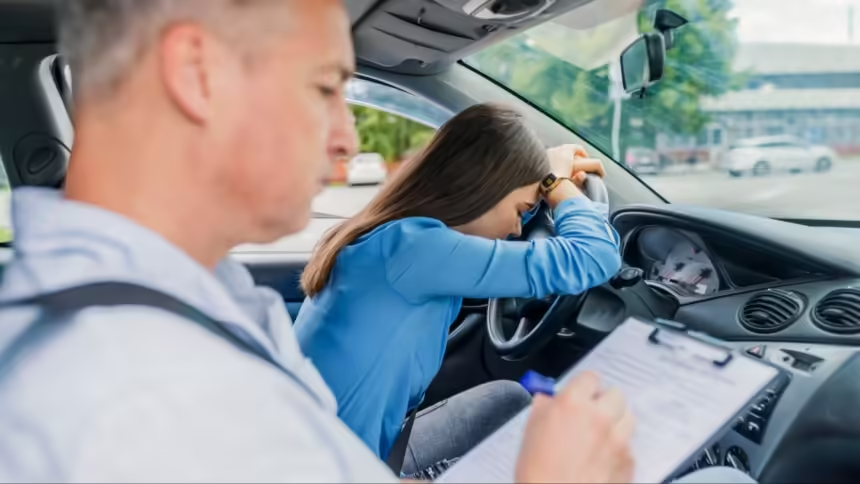
Preparing for your road test in Queens can feel overwhelming, but with the right approach, you can ace it confidently. This guide covers everything you need to know, from essential documents to practical driving tips.
Whether you’re taking the test at one of Queens’ popular road test locations or elsewhere, having a clear checklist will ensure you’re fully prepared.
Schedule and Confirm Your Appointment
The first step is to schedule your road test through the New York Department of Motor Vehicles (DMV) website. Here’s what you should do:
Check Availability: Choose a test date and time that works for you. Popular Queens locations include Jamaica, Fresh Meadows, and Astoria.
Confirm Your Appointment: Double-check your appointment details, and note the test center location.
Cancel or Reschedule: If something comes up, make sure you know the rescheduling or cancellation process to avoid fees.
Gather the Required Documents
On the day of your road test, you must bring the necessary paperwork:
Learner’s Permit: Ensure your permit is valid and up-to-date.
Pre-Licensing Course Certificate (MV-278) or Driver Education Certificate (MV-285): You’ll need one of these to prove you’ve completed the required driving course.
Road Test Appointment Confirmation: Bring a printout or have the confirmation available on your phone.
Insurance and Registration for the Vehicle: Ensure the car you’re using for the test has valid insurance and registration.
Practice in Queens Road Test Locations
Get familiar with the area around your testing location in Queens. Practice driving on the streets near the test site to boost your comfort level with:
Traffic Signals and Stop Signs: Many test routes in Queens involve frequent stops and heavy traffic. Make sure you’re comfortable reacting to these conditions.
Parallel Parking: Queens road tests often require you to parallel park in tight spaces, so practice this skill repeatedly.
Speed Limits: Watch for varying speed limits, especially in school zones or residential areas.
Vehicle Inspection
The vehicle you use for the road test must meet the DMV’s safety requirements. Before heading out, check the following:
Brake Lights, Turn Signals, and Headlights: All should be functional.
Horn and Windshield Wipers: Ensure both work properly.
Mirrors: Adjust your rearview and side mirrors to provide a clear view.
Tires: Make sure your tires are properly inflated and not worn down.
Seatbelts: Confirm that all seatbelts are functioning correctly.
Road Test Day Tips
On the day of your road test, make sure to:
Arrive Early: Plan to arrive at least 15 minutes before your scheduled test.
Dress Comfortably: Wear comfortable clothes and shoes that won’t hinder your driving ability.
Stay Calm: Take deep breaths and focus on staying calm. Anxiety can make you second-guess yourself during the test.
Understand the Test Criteria
During the road test, the examiner will assess your ability to drive safely and confidently. Here’s what they’ll be looking for:
Basic Driving Skills: This includes accelerating, braking smoothly, and maintaining a safe speed.
Steering and Lane Control: Keep the car centered in your lane and avoid oversteering.
Parking: Be prepared to perform parallel parking, angle parking, or a K-turn.
Observation and Signaling: Always check your mirrors and blind spots before changing lanes or turning.
Obeying Traffic Laws: Always come to a complete stop at stop signs and red lights, and yield when required.
Know What Happens After the Test
Immediate Feedback: The examiner will give you feedback immediately after the test. If you pass, you’ll receive a temporary license until your permanent one is mailed.
Retake Policy: If you don’t pass, don’t worry! You can reschedule another test. Be sure to review your mistakes and practice the areas where you struggled.
Post-Test Celebrations
Whether you pass or not, completing the road test is an important step! If you passed, celebrate your new freedom on the road responsibly. If not, you’ve gained valuable experience that will help you in your next attempt.

