
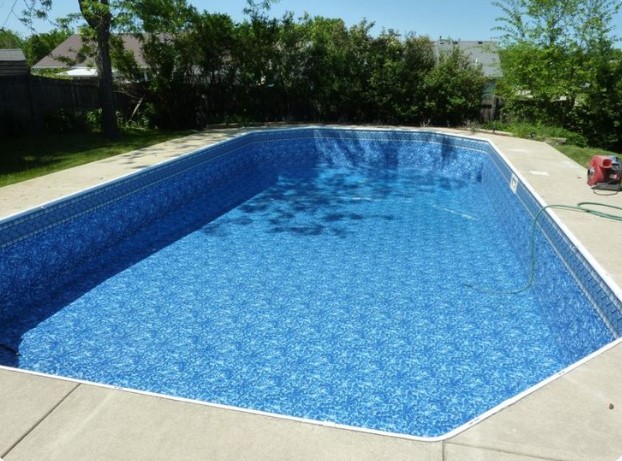
If you own a pool in Hawaii, you know how important it is to maintain its beauty and functionality. One crucial aspect of pool maintenance is the vinyl pool liner. Over time, your vinyl liner may wear out, leading to leaks and other issues. In this guide, we’ll explore everything you need to know about vinyl pool liner replacement in Hawaii.
Why Replace Your Vinyl Pool Liner?
Vinyl pool liners serve several essential functions. They not only enhance the aesthetic appeal of your pool but also protect the underlying structure from water damage. However, exposure to the sun, chemicals, and debris can lead to deterioration over time. Here are a few signs that indicate it’s time for a replacement:
- Visible Damage: Cracks, tears, or discoloration in your liner can compromise your pool’s integrity.
- Leaks: If you notice a significant drop in water levels, it might be due to a damaged liner.
- Algae Growth: If algae continues to grow on your liner despite regular cleaning, it may be a sign of wear.
- Wrinkling or Slipping: If your liner appears wrinkled or has shifted from its original position, it’s time to consider a replacement.
Benefits of Vinyl Pool Liners
Choosing a vinyl pool liner replacement Hawaii comes with numerous advantages:
- Customization: Vinyl liners come in a variety of colors and patterns, allowing you to create a unique look for your pool.
- Cost-Effective: Compared to other pool lining options, vinyl is often more affordable and easier to replace.
- Smooth Surface: Vinyl liners provide a smooth surface that feels great underfoot and is less prone to algae buildup.
The Replacement Process
Replacing a vinyl pool liner involves several steps. Here’s a breakdown of what to expect:
1. Drain the Pool
The first step in the replacement process is to drain your pool. Ensure you follow local regulations regarding pool drainage to avoid environmental damage.
2. Remove the Old Liner
Once the pool is drained, the next step is to remove the old liner. This involves detaching it from the coping and taking out any anchors or attachments.
3. Inspect the Pool Structure
Before installing the new liner, check the pool’s walls and floor for any damage or deterioration. This is an excellent time to repair any issues that could affect the new liner’s longevity.
4. Install the New Liner
Carefully unfold and install the new vinyl liner, ensuring it fits snugly. It’s crucial to smooth out any wrinkles and secure the liner to the coping.
5. Fill the Pool
After the new liner is in place, begin filling the pool with water. As the water rises, continue adjusting the liner to eliminate any remaining wrinkles.
6. Final Touches
Once the pool is filled, reattach any fittings and add chemicals to balance the water. Finally, give your pool a thorough cleaning before enjoying your newly lined oasis.
Hiring a Professional
While some homeowners may choose to tackle vinyl pool liner replacement themselves, hiring a professional is often the best option. Experts understand the intricacies of the process and can ensure a perfect fit, reducing the risk of future issues. Plus, professional installation often comes with warranties, providing you with peace of mind.
Conclusion
Maintaining your pool’s aesthetic and structural integrity is crucial for enjoyment and longevity. If you’re considering vinyl pool liner replacement in Hawaii, be sure to weigh your options carefully. Whether you opt for a DIY project or hire a professional, a new vinyl liner can rejuvenate your pool and enhance your outdoor space. Enjoy the sun and splashes in your beautiful pool once again!